The office (technically a very small bedroom) was last decorated in 2018. Since then we’ve accumulated more stuff and the space has become a horror show. Here’s how it was around Christmas of 2025.
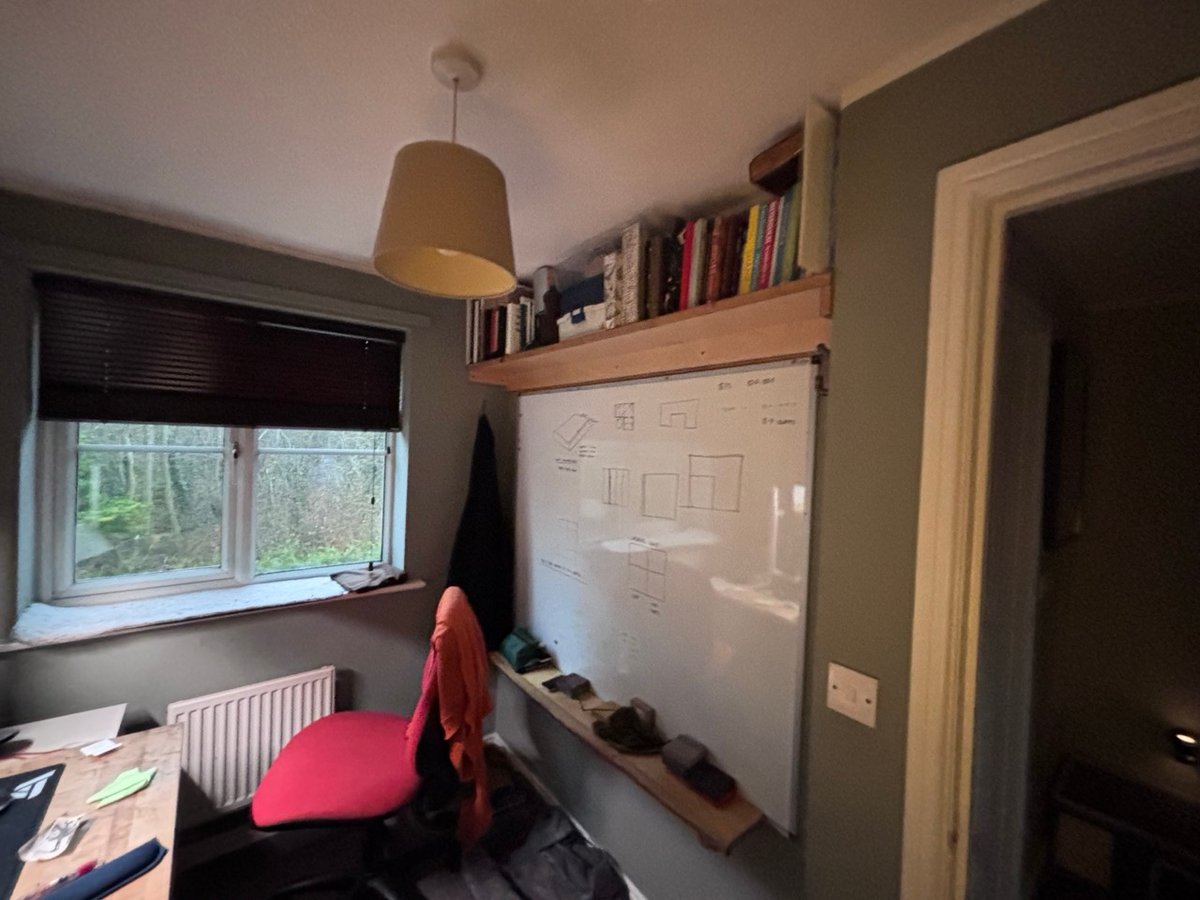
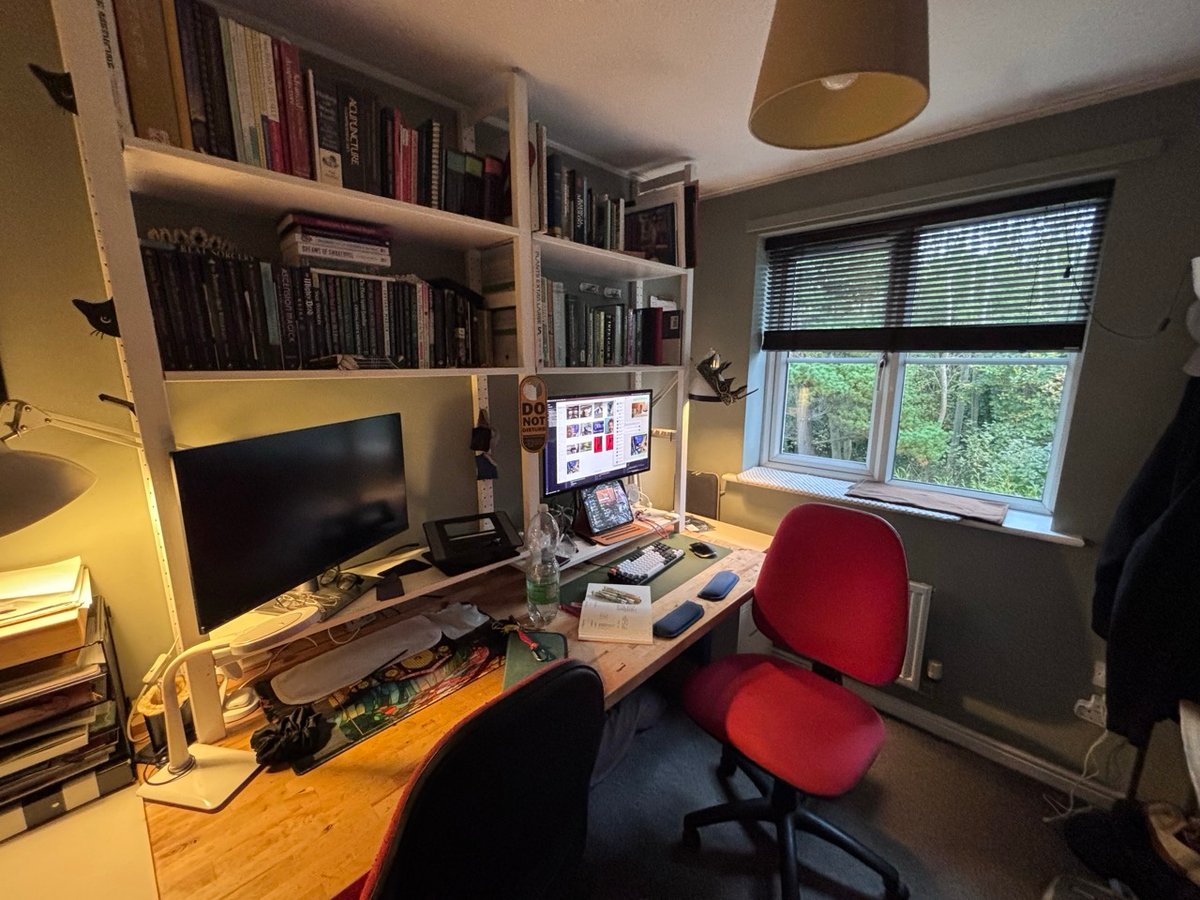
There was another area I didn’t photograph as it was a small nook that we filled with ikea cabinets. I’ll get to that in a bit.
The plan was to strip the office out, get the electrical work done, paint the place, and then build and install a new nook, a full wall of built-in cabinets on the awkward space that the whiteboard is in, then make a new desk and finally a set of cupboards above the desk. One month, maybe six weeks. Oh how wrong a person can be. With the exception of the electrical work (done by a qualified electrician) everything was to be done by yours truly with one week of labouring help from Mrs Curle.
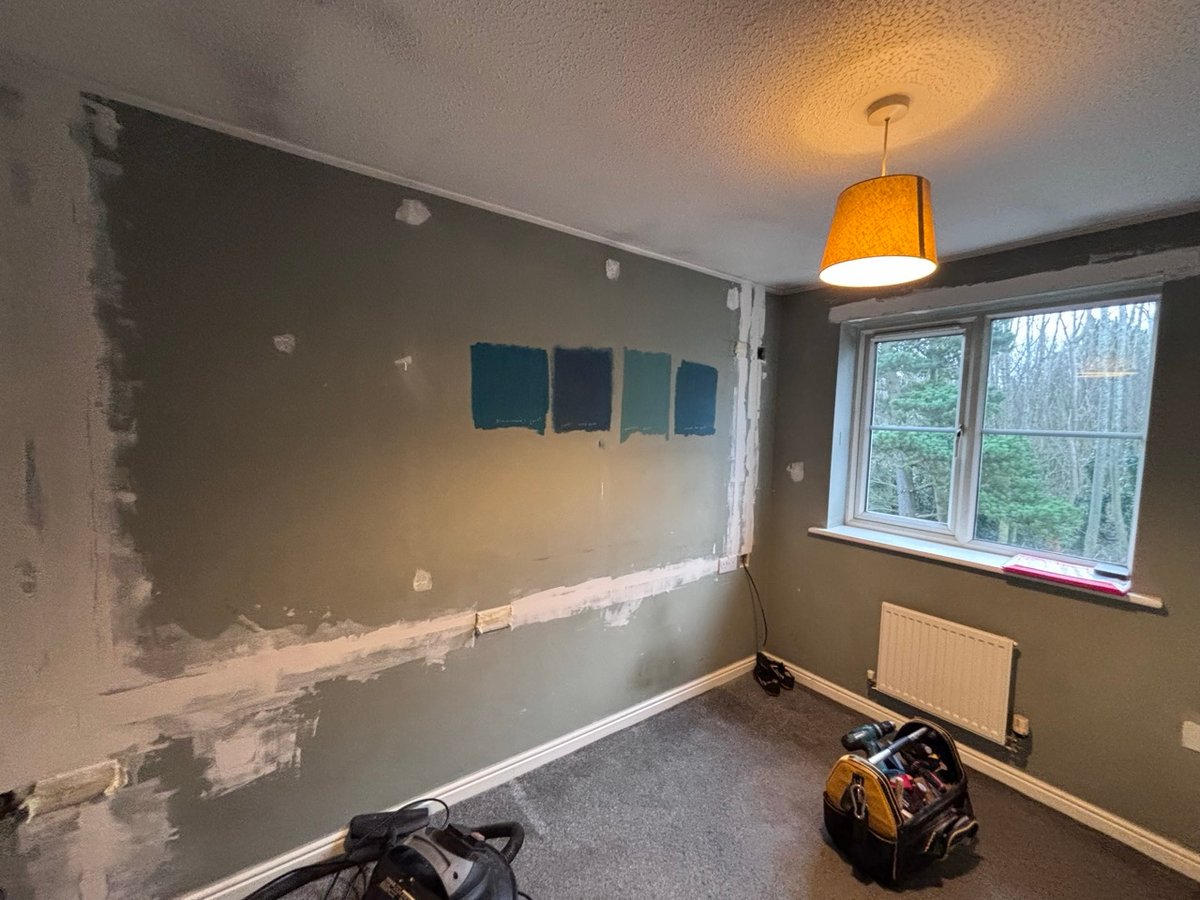
Stripped out
Here it was a day after the electrical work had been done. Network cables had been installed up to the loft space and the sockets had been moved to locations where they’d be needed.
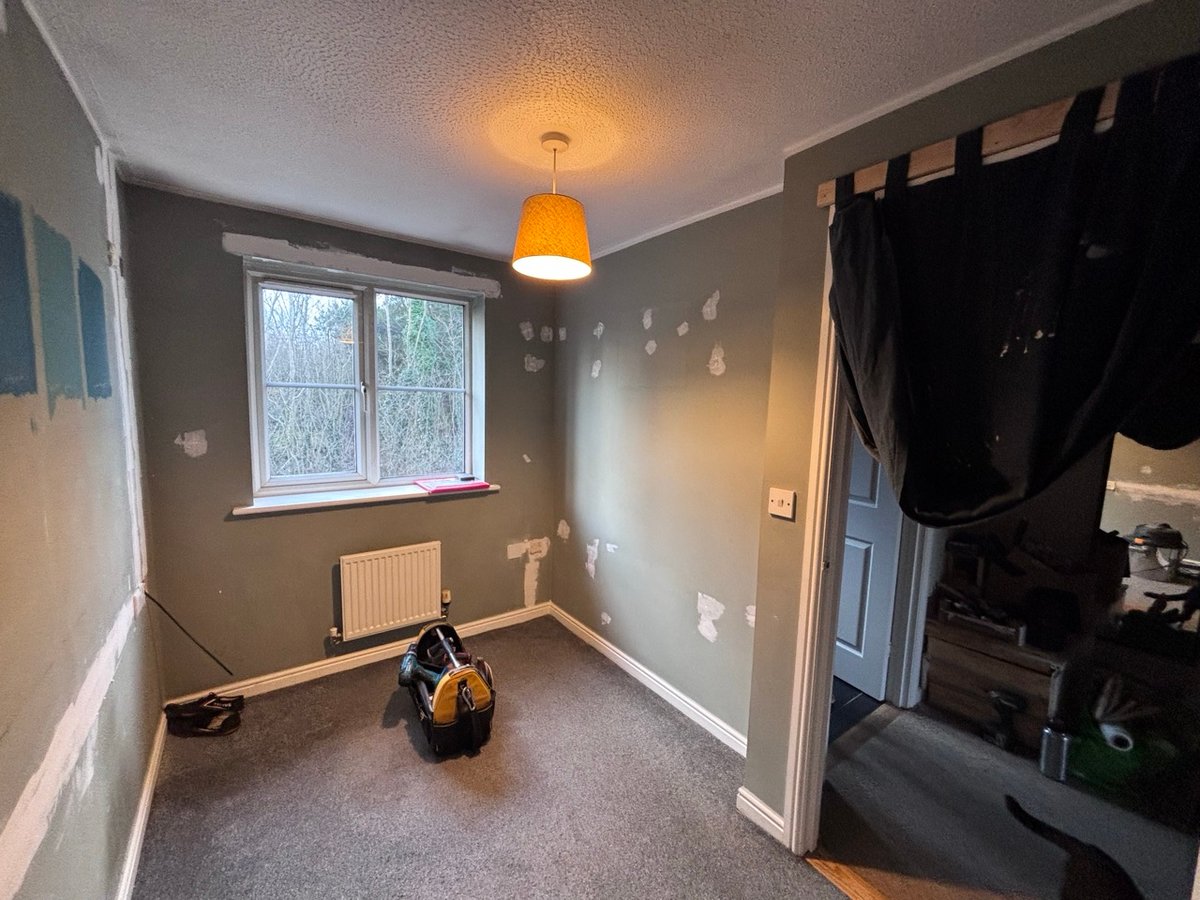
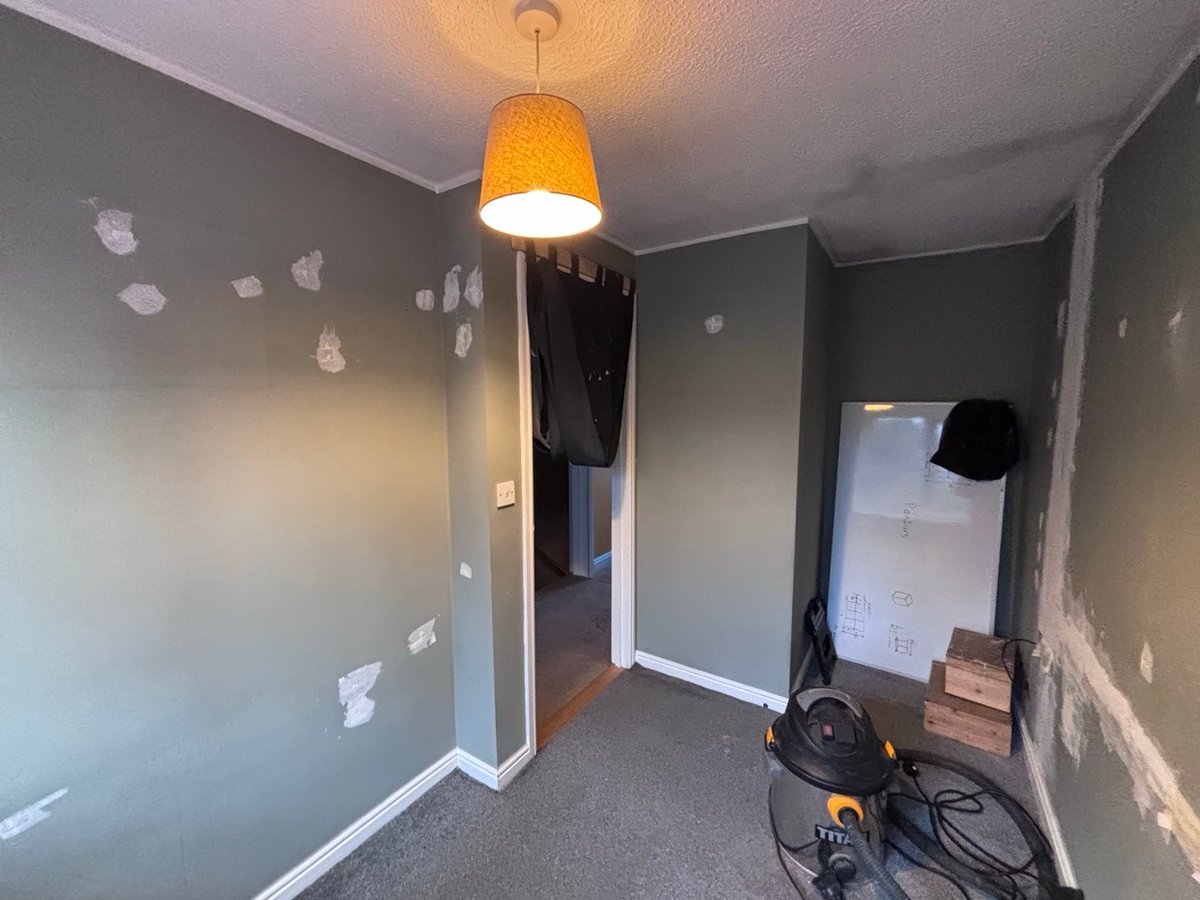

So that I could continue to do work and have interviews we moved the office into the living space. This was very cosy.

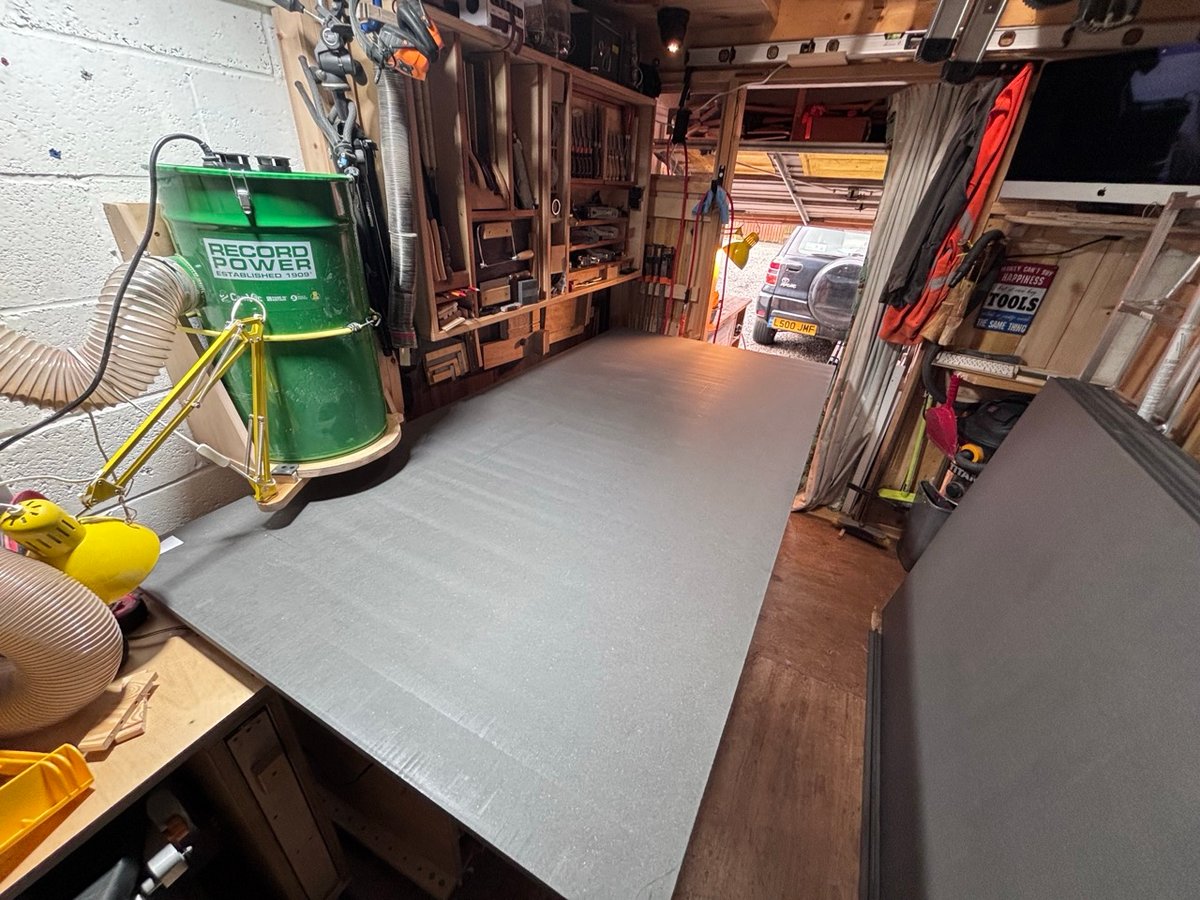
The workshop was also very cosy after taking delivery of seven 2.4m × 1.2m sheets of 18mm [black valchromat] for the doors and cabinets. There was just enough space to break sheets down.
Painting & Floor
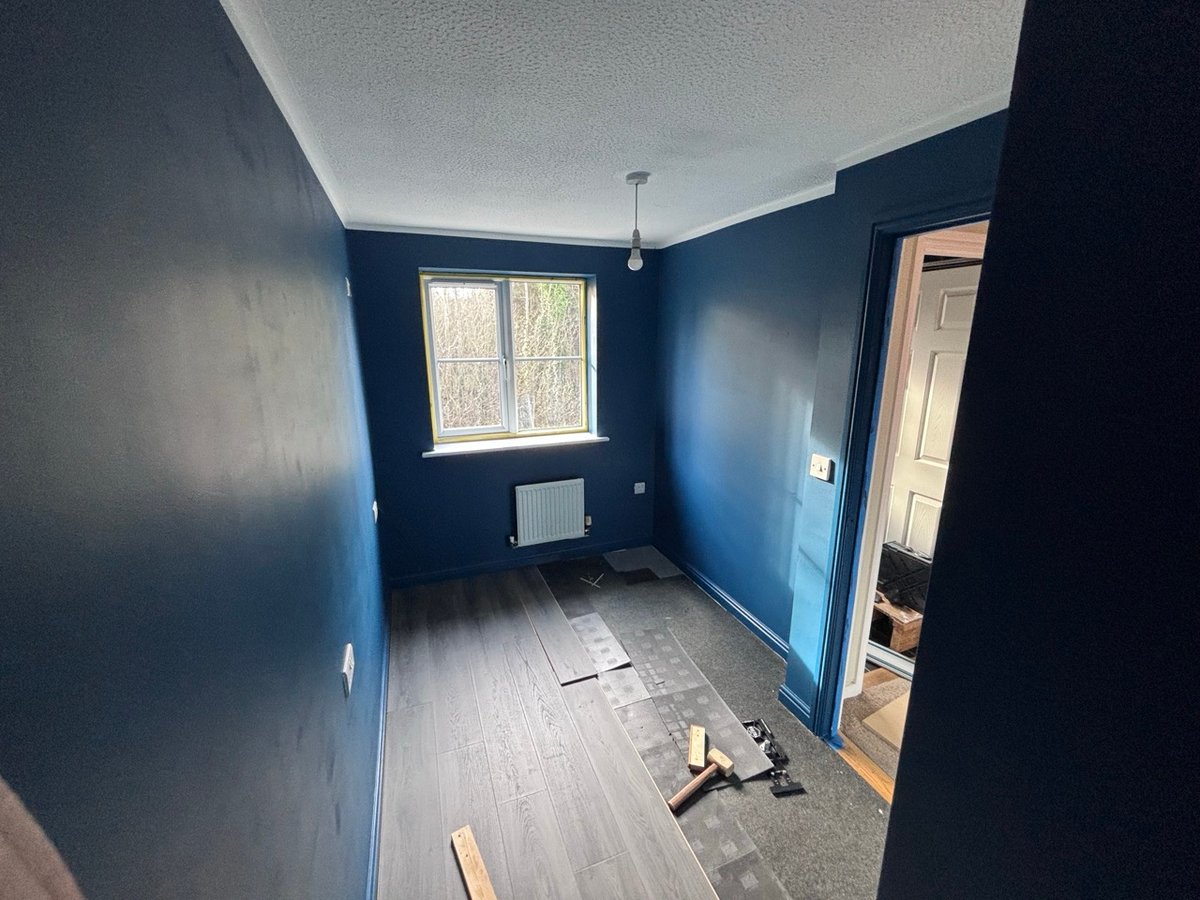
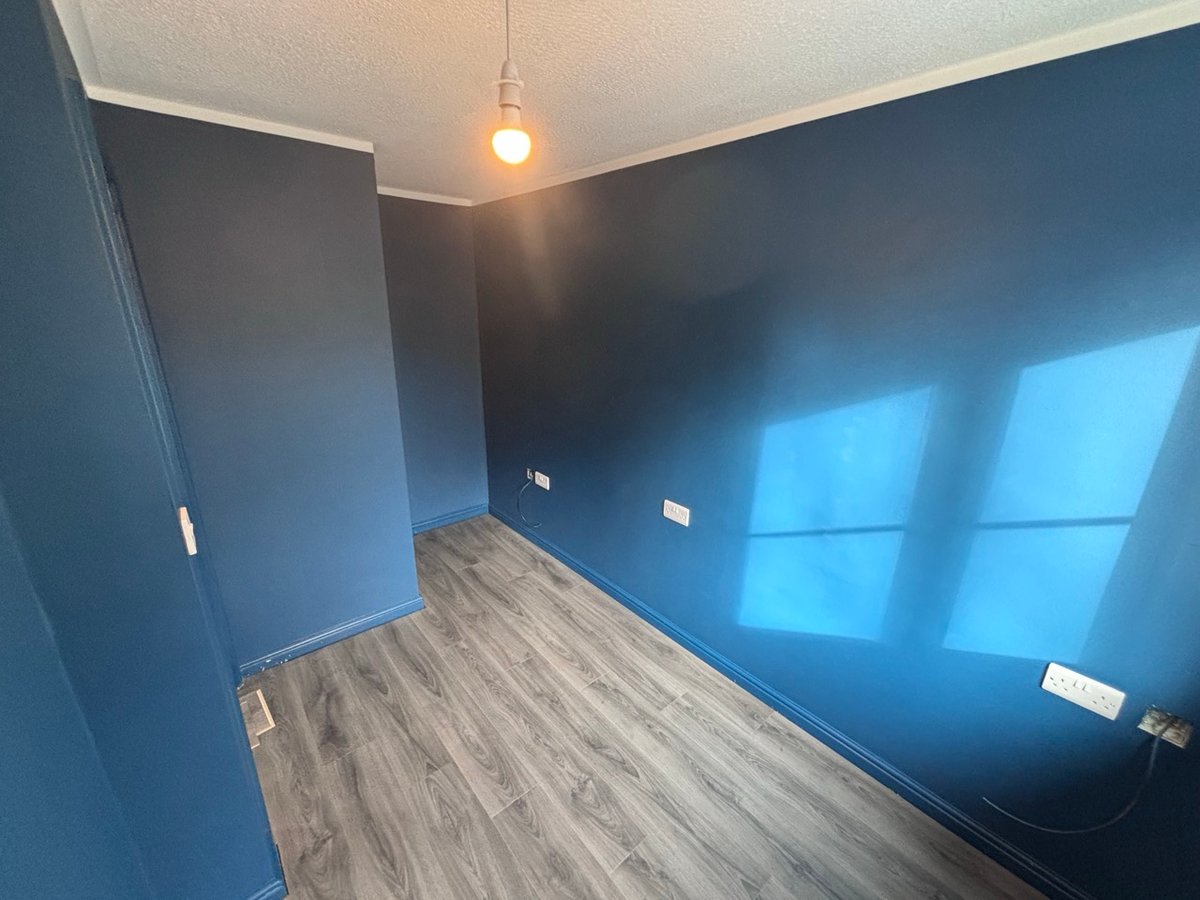
First order of business was to get the place painted and get the new floor down. At this point we knew we’d replace the door frame and skirting boards in the future, but didn’t want to do it now. So we elected to paint the skirting boards and door frame in the same colour as the walls.

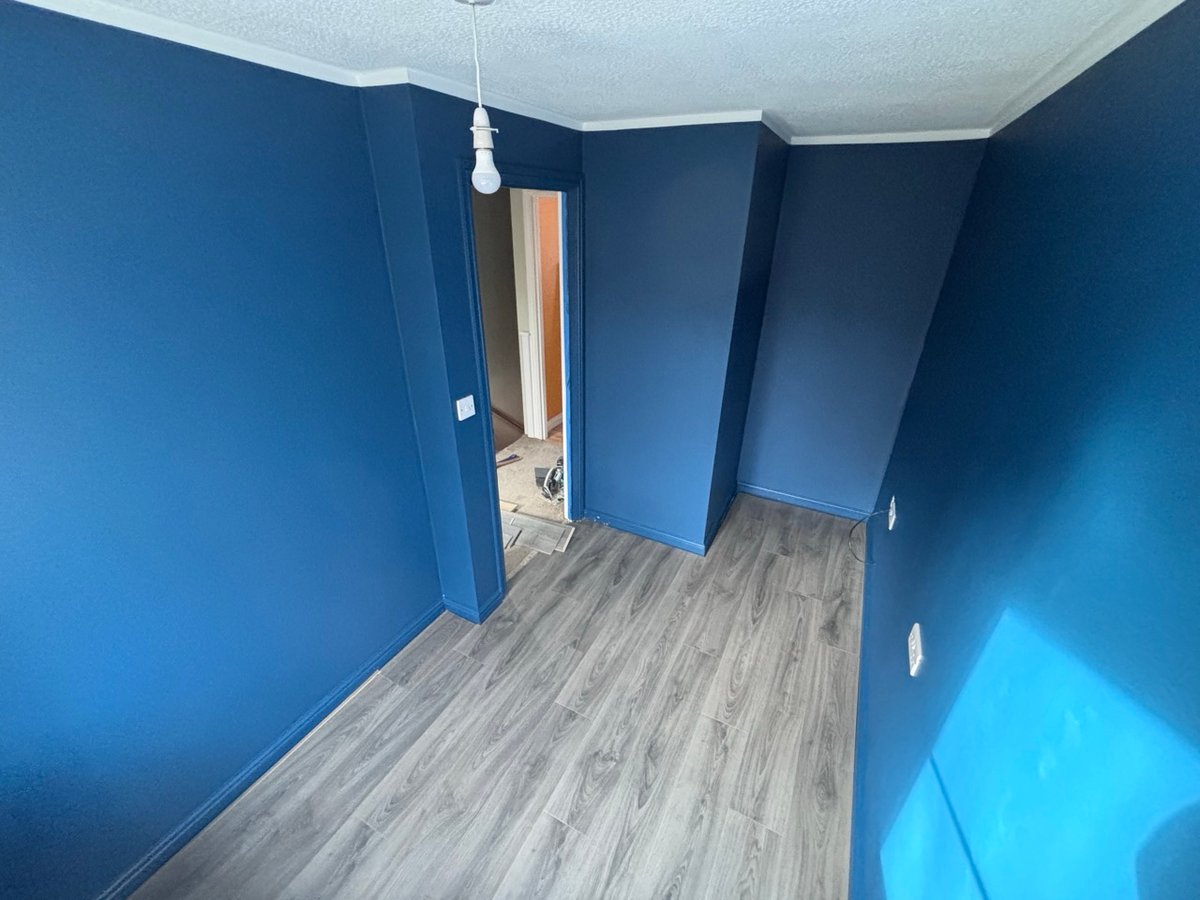

The Nook
Next it was the nook. The idea here was to install shelves and a sliding door so that we had a load of storage space that could be easily visually hidden.
The shelves needed supports in first which were painted plywood.
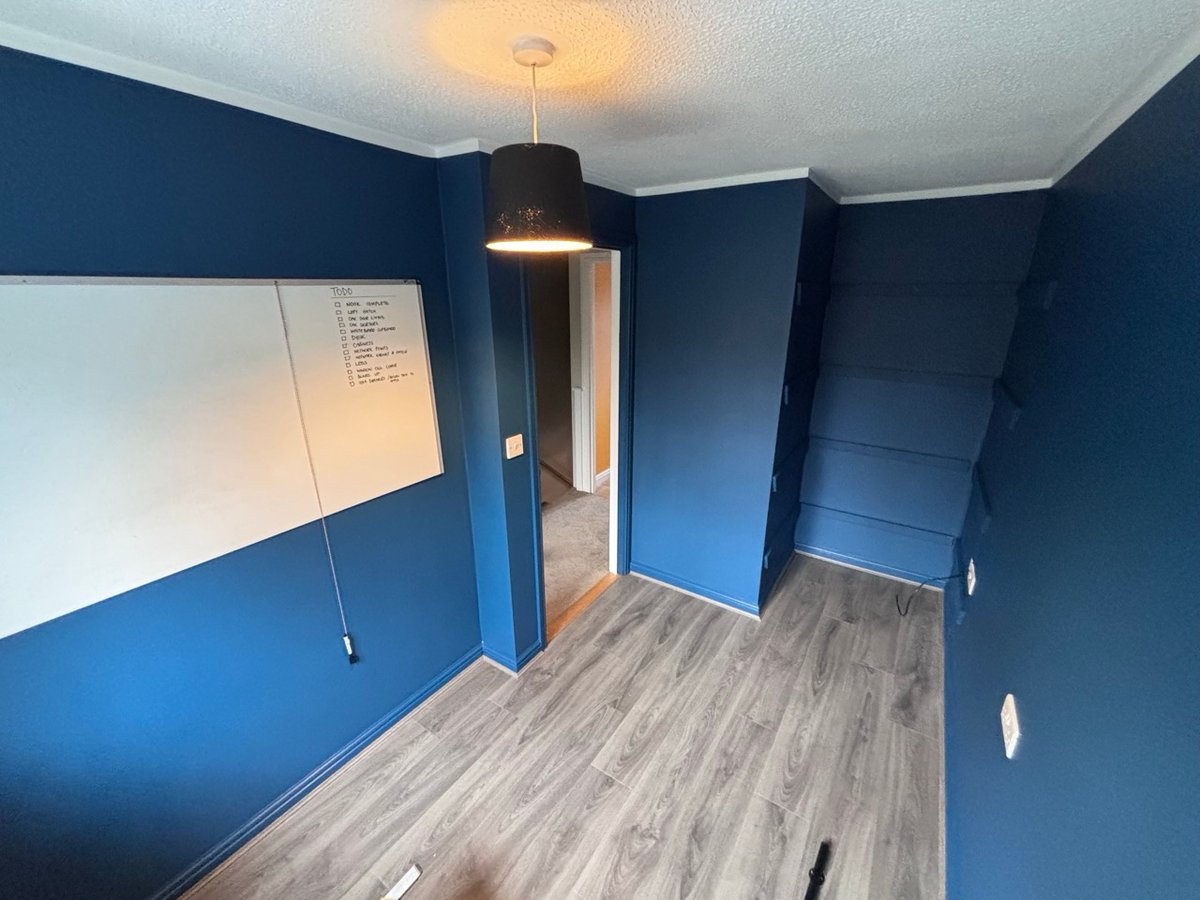
And the shelves rested on top. I knew the cantilever on the shelves would need support but that was a tomorrow problem.

The sliding door was next and it needed a track. This was made from three layers of 24mm birch plywood as the main load bearing front with two more wings which fastened it to the wall.

I wish I’d made a jig for the track installation as it took me hours to get the spacing and levelling correct. But eventually there was a track. If ever you do this for yourself, make a template from a scrap section of wood. Time saved on install will more than pay for the sheet goods to make the template.

Finally it was time to make the door. Cutting it from a sheet was snug.

Even after it was cut the workshop was at full capacity.

Next, route a nice roundover on the edges as valchromat, whilst tougher than MDF, is very easy to break on a hard square edge.
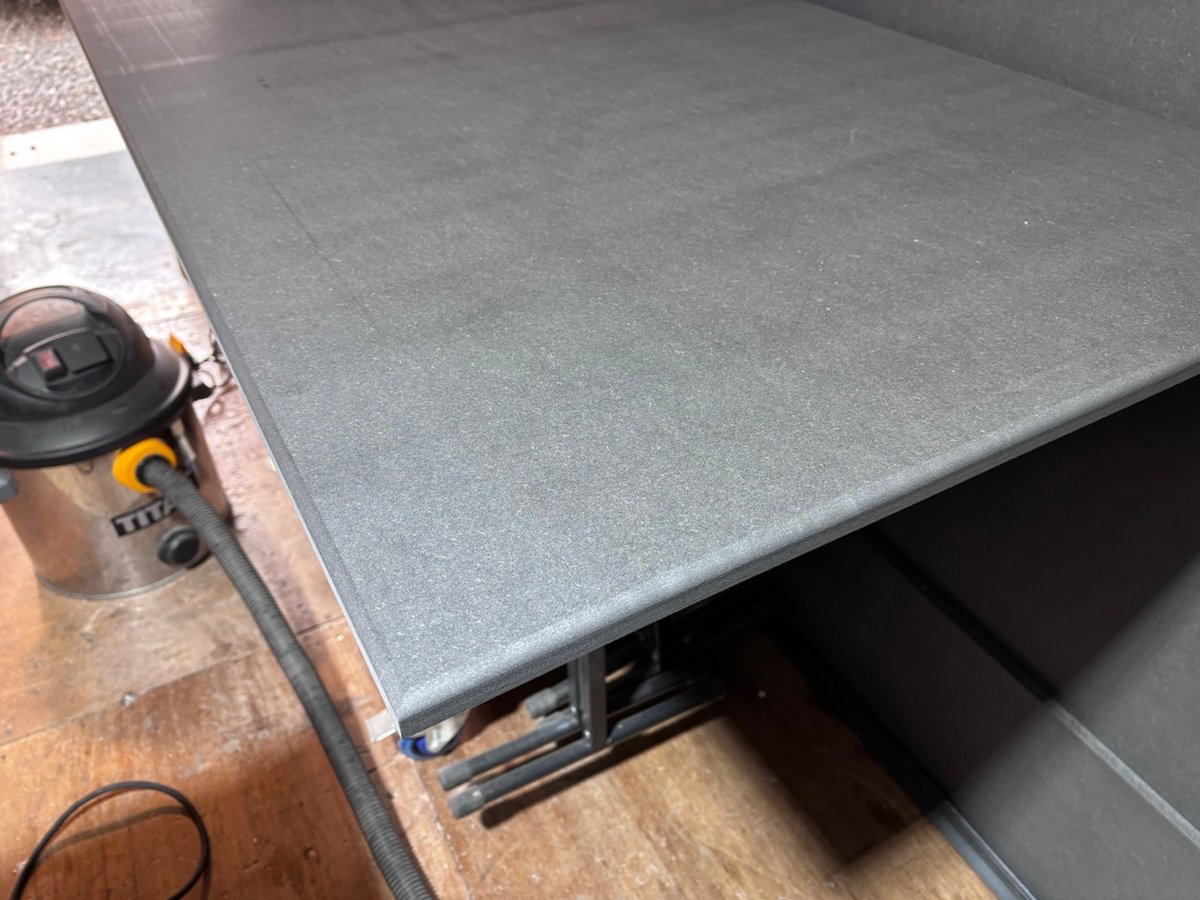
The fastners supplied with the sliding door track were not going to work on this door because it was heavy. The shear forces would eventually tear the screws out and leave me with a giant mess of a situation. So I had to design my own connection system which took advantage of the fact that the material is really strong in compression. It involve having to hand drill 16 precise holes at 90º to a set depth, by hand, with zero mistakes. Daunting.
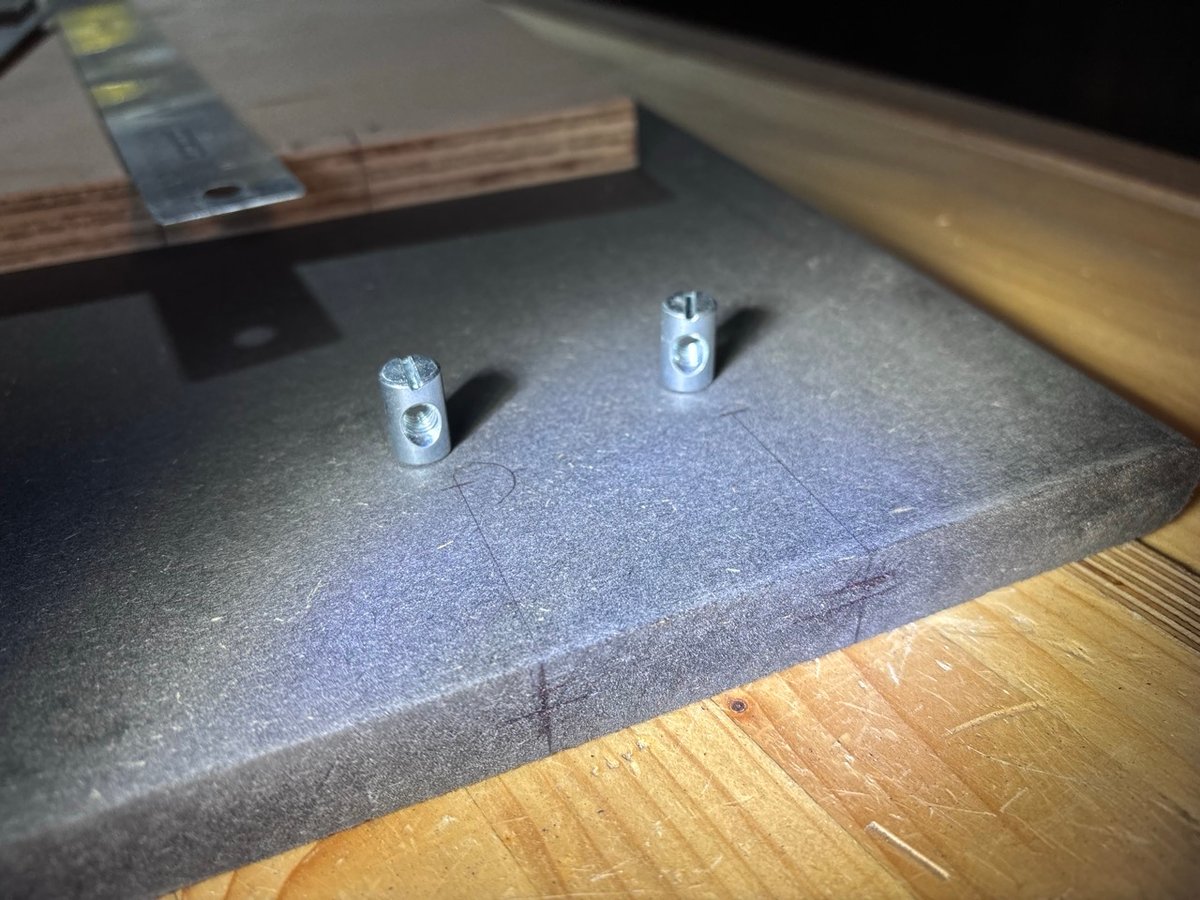
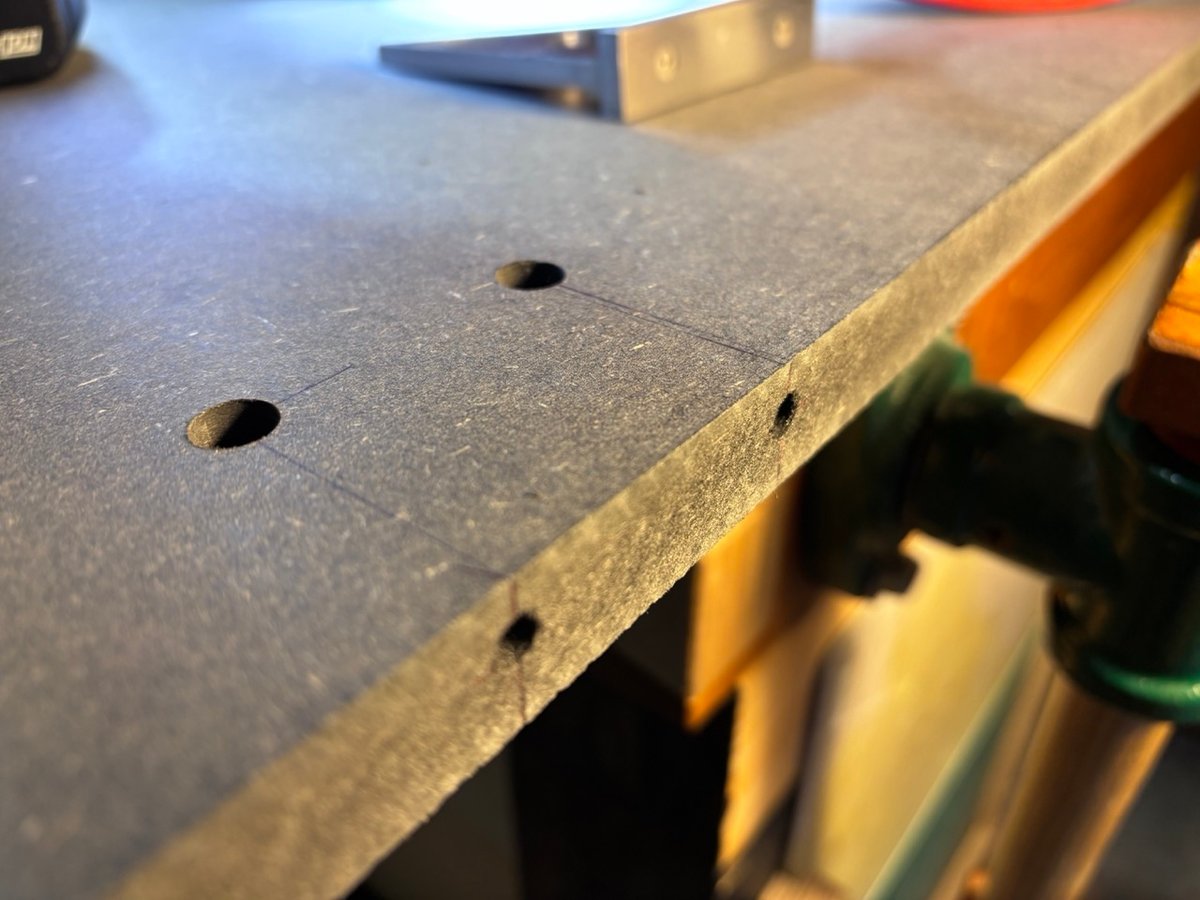

It went fine. Took me ages and I worked very methodically but I got it done and finally it was time to finish the material. I used OSMO polyx with a back tint. The before and after is quite dramatic.
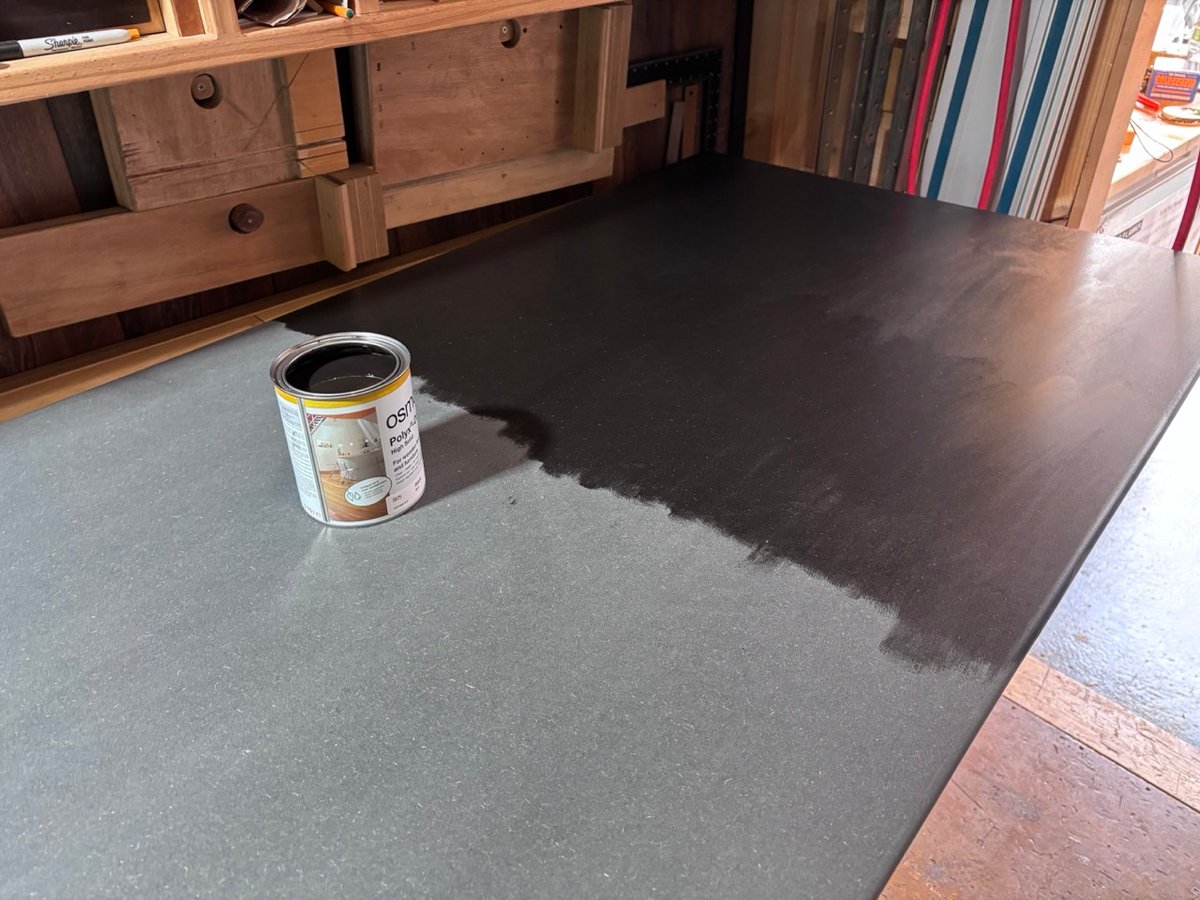
Many repetitions of apply finish, sand back, apply finish and I had something I was happy with. Not very happy, but happy enough at and I installed the door. It was heavy and installation was a chore. You’ll notice a small space between the wall and the door. That’s because there wasn’t enough sliding space for the door to be the full size of the space. I live in a small house.
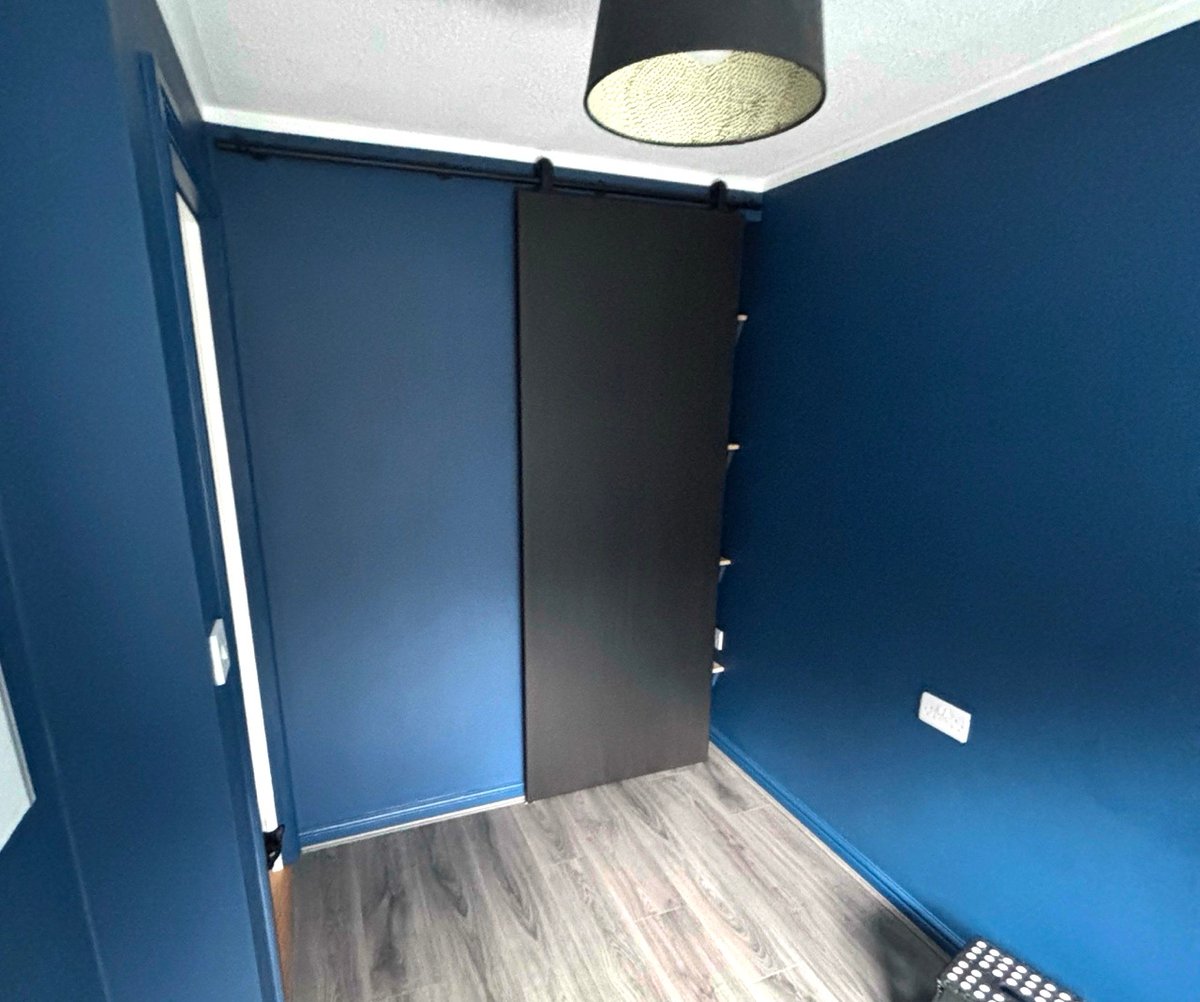
So I made a fill section and install some magnets on it and the door. More precise drilling.
At this point I realised the cantilever shelves did need support so I did that also. I used an offcut of 24mm birch plywood, marked and cut grooves for the shelves and screw them all together. You can also see where I had to cut the skirting board out to make room for the door. At this point the skirting boards had taken a few hits and were beginning to look bad. This is foreshadowing.
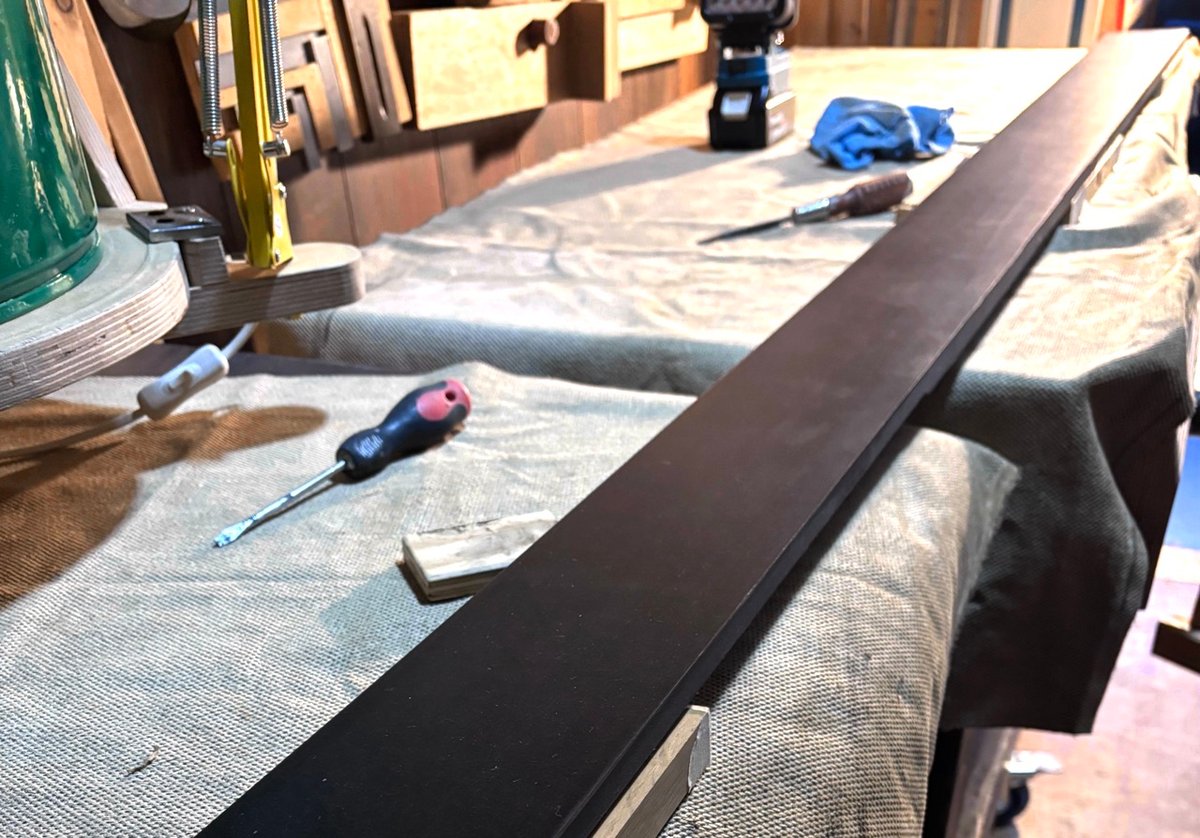


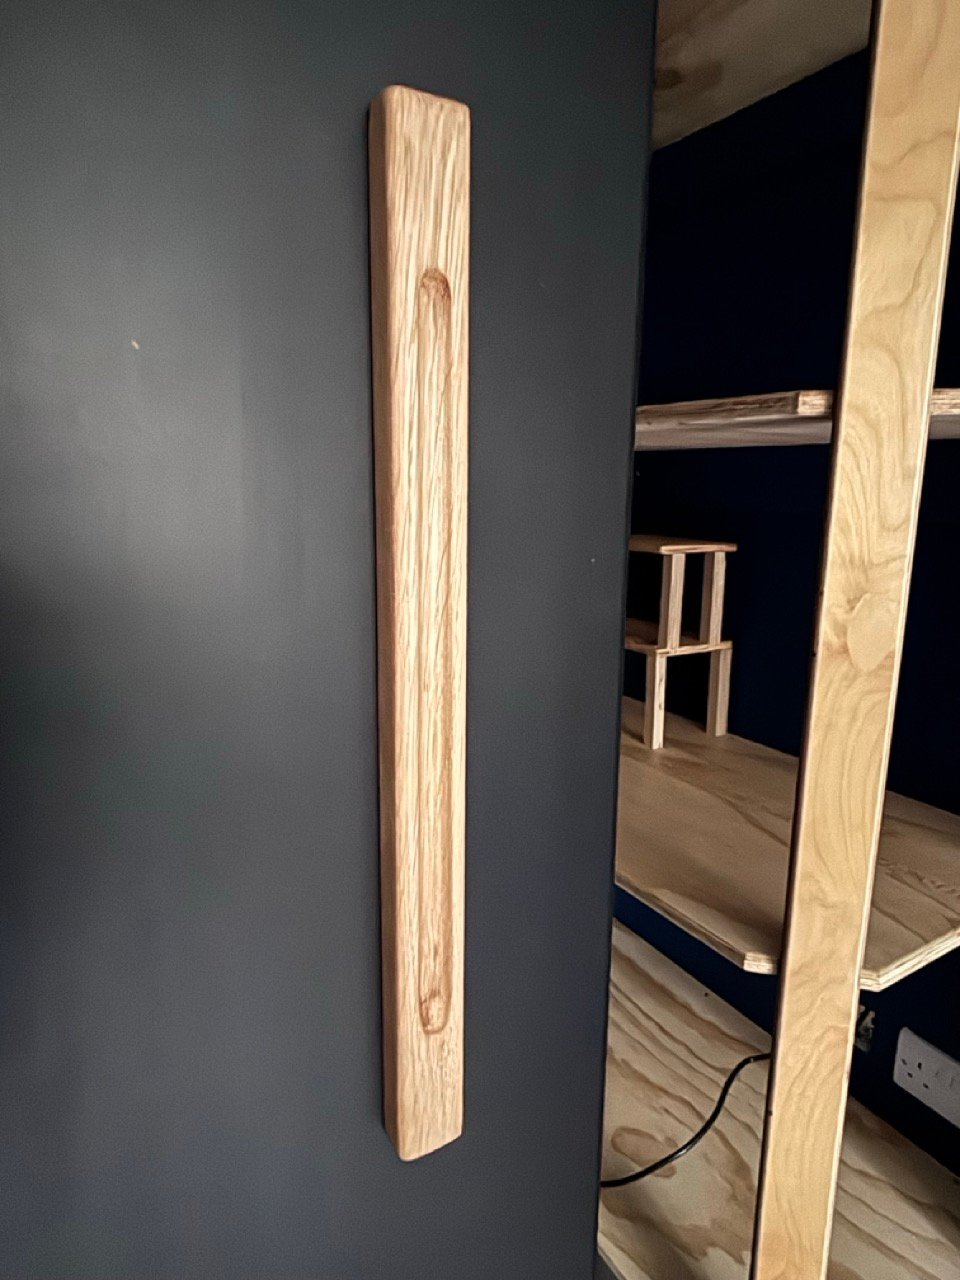
After all that it was time for the finishing details. So I made a nice oak handle and a nice oak glide for the doors. The plastic one that came with the door was an insult to aesthetic. The slide was made from timber that I milled when I made the lightning tree safe.

Skirting boards, floor and door lining.
At this point we realise that the skirting boards and the door frame should be replaced. Now was the best time to do it. I lost a bit of drive in the photography department so I didn’t get many photos. But I’d already done one oak door lining downstairs so I new what was involved. Remove the old lining and skirting boards.
Total newbuild horror show behind the lining - the size of that shim!

Door linings are not hard but they are fiddly. The all need to be cut precisely - especially when you’re using timber that you’re not going to be able to hide your sins with caulk. “Caulk and paint, makes me the joiner I ain’t” doesn’t apply when working with lovely oak that will be hard wax finished. It’s just backwards and forwards clamping, marking, cutting, clamping, fettling and repeat until done.

No matter how hard I worked, the whiteboard didn’t seem to get much ticked off.

I like to screw the door linings into the wall and plug the holes. It makes removal less destructive to the material. You cut plugs from the same material, drill holes to take the plugs, and then when installing, match plugs and grain to the holes. I use a vertias plug cutter. They are a million miles from the el-cheapo middle of lidl varieties.

Eventually, we had a nice oak door lining. I’m a massive fan of oak in houses. It’s very, very hard wearing and if you can dig the wooden look you’ll never have to paint another skirting board or door liner ever again. The downside is that it is very expensive compared to mdf and even more expensive to get it installed by a professional because it has to be done correctly.


Six weeks, nope.
At this point I was out of time and I had to get back into my contracting work so the room sat unfinished for a month whilst I did the skirting boards on my freetime. There were not a lot of photos in that time except for this one in which Orion and Crowly took turns to “sploot” into the unify packaging that the router came in.

Sometime in April we moved the desk back upstairs and the space has been used since then.
Still to do:
- built-in cabinet for the whiteboard space
- desk & chairs
- above the desk cabinets
All of which are massive jobs. That’s the thing with DIY though - it takes a long time. Many of the jobs involved are done so infrequently that you forget how to be fast at them. You’re also not able to draw from knowledge about where you can (or should) be less precise and where you must be precise. The end result is a lot of back and forth which takes time. But the results are always worth it.
If you persist and do your best work you get results that far surpass what you’d get at a price point than paying a professional to come in and do it. It’s not for everyone, but I’m on a mission to be a well rounded human being and being able to decorate and furnish a home from my own skillset and labour is very important to me. If I was given a choice to choose either professional skills (leadership, executive corporate type stuff) or DIY skills (the ability to build a home), I’d take the DIY skills everytime, all the time.
In reality, I’m one van and some insurance away from offering it as a service. Which I do think about, a lot.